Affiliate disclosure: This post contains affiliate links. If you buy through them, we may earn a small commission at no extra cost to you.
Baking gear is the worst behaved category in any kitchen. Sheet pans slide out sideways, the muffin tin lands on the good springform, and somewhere in the back of a cabinet there is a bag of sprinkles from a birthday two years ago. The problem is not that you own too much. It is that baking supplies are shaped nothing alike, so they never stack into anything sensible on their own. Fix the shapes and the whole cabinet calms down.
Step 1: Pull it all out and be honest
Take every baking item out of the cabinets, the drawers and that one high shelf you need a chair for. Put it on the table and look at it as one pile. The chipped tart pan, the second rolling pin, the cookie cutters in shapes you have used once since 2019, the mystery attachment from a mixer you no longer own. If it has not been in your hands in two years of baking, it goes to donation. Sprinkles and decorations do expire and lose color, so check dates while you have them out.
Step 2: Stand the flat pans upright
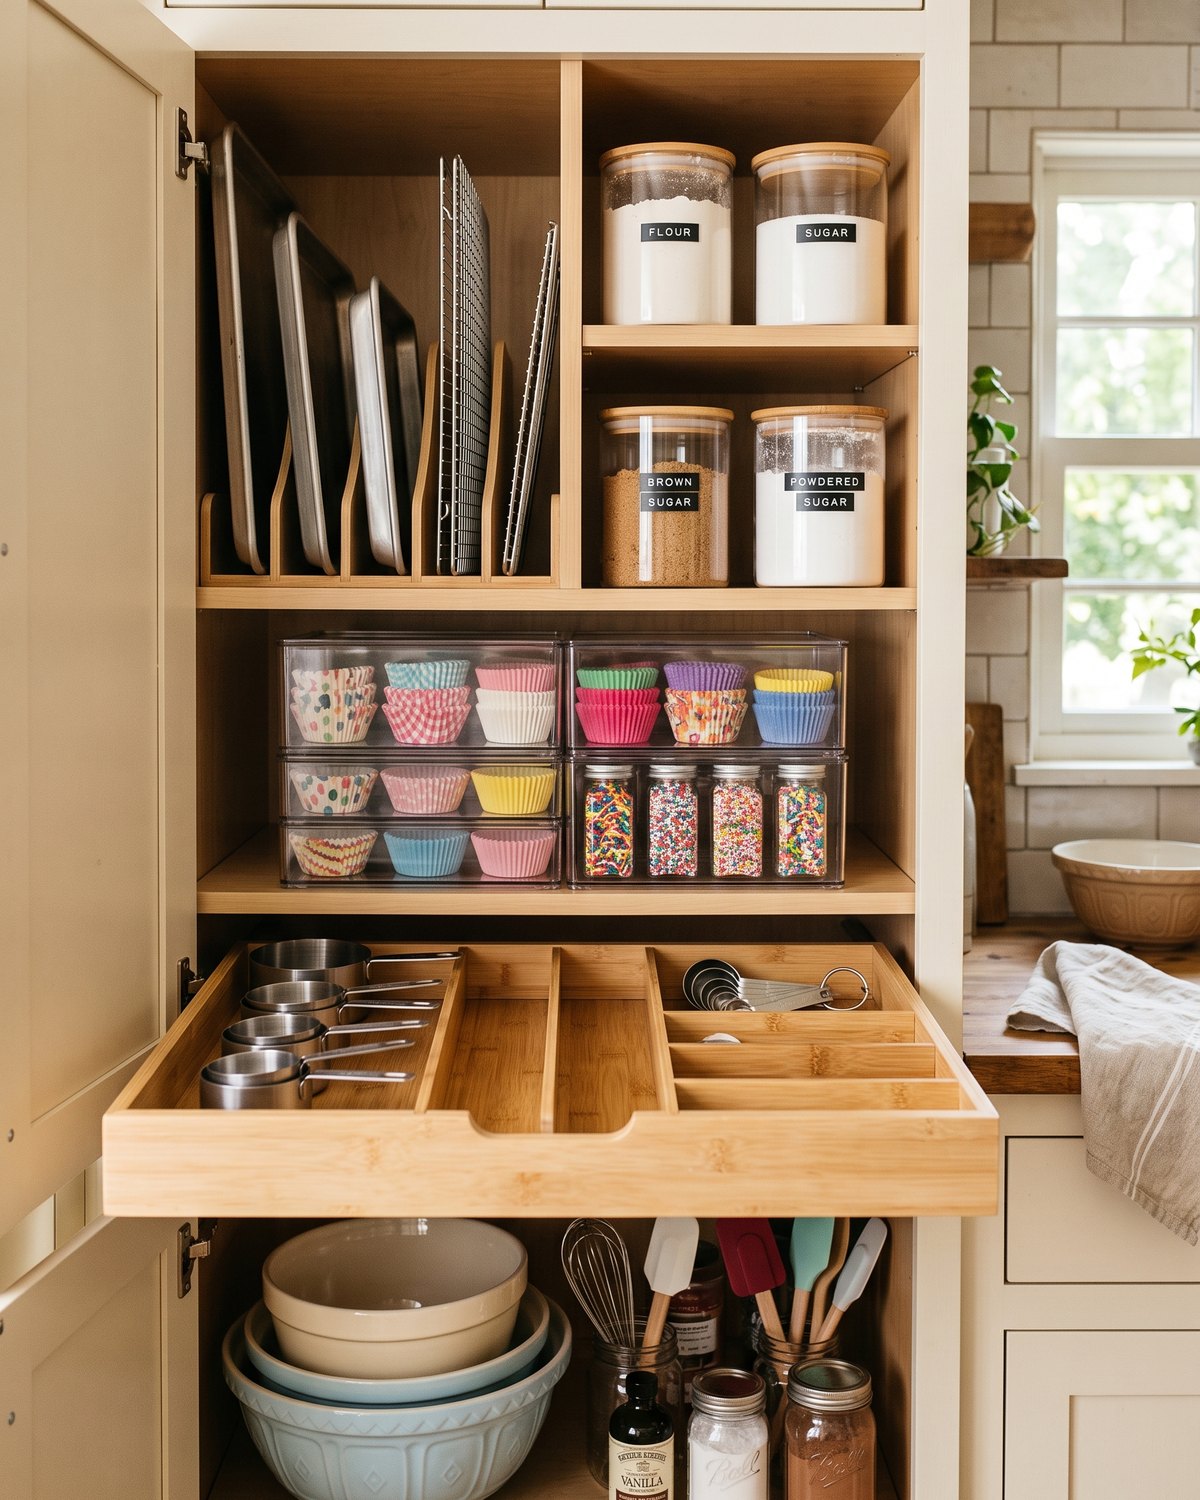
Stacking sheet pans is how you end up unloading four of them to get the one on the bottom. Filing them vertically is the single change that makes a baking cabinet usable. In a deep cabinet, two tension rods placed front to back turn one shelf into slots for baking sheets, cutting boards and cooling racks. Shop on Amazon → If your cabinet is shallow, a simple bakeware rack does the same job in a smaller footprint. Shop on Amazon → Either way, you pull one pan out with one hand.
Step 3: Decant the flour and sugar
Paper bags tear, roll shut badly and invite pantry moths. Airtight food storage containers keep flour, sugar, brown sugar and oats fresh and let you see when you are running low, which is useful information at nine on a Saturday night. Shop on Amazon → Keep the scoop inside the container rather than in a drawer across the kitchen. Write the date on a piece of tape when you refill; whole wheat and nut flours go rancid faster than people expect.
Step 4: Corral the small chaos
Piping tips, cupcake liners, sprinkles, candy thermometers and birthday candles are the items that turn a tidy cabinet back into a junk shelf. Give them one contained home instead of six. A clear stackable bin with a handle works as a decorating kit: liners in one, tips and bags in another, sprinkles standing upright so you can read the labels. Shop on Amazon → Piping tips deserve their own small case rather than a loose bag where they get crushed. Shop on Amazon → Pull the whole bin down when you decorate, put the whole bin back when you finish.
Step 5: Zone the drawer
Measuring cups, spoons, spatulas and whisks belong near the mixing zone, not scattered across three drawers. Bamboo expandable drawer dividers split one drawer into lanes sized to what you own, so the measuring spoons stop nesting themselves inside the whisk. Shop on Amazon → Nested sets stay nested when they have a lane of their own.
Step 6: Label so anyone can put it back
The system survives other people only if the labels do the explaining. Run a label maker across the container lids, the bin fronts and the shelf edges. Shop on Amazon → Fabric bins on a high shelf hold the seasonal gear, the holiday cookie cutters and the gingerbread house kit, labeled by occasion so you are not opening all of them in December. Shop on Amazon →
Bake first, organize second
Set the cabinet up around how you actually bake. If you make bread weekly and cake twice a year, the loaf pans and the scale go at eye level and the cake decorating kit goes up high. Do a quick check every few months: the sprinkles that have faded, the pan that warped, the third silicone spatula. Baking is enough work without a scavenger hunt in front of it.
Start with the sheet pans standing upright. Ten minutes, one tension rod, and the loudest part of the problem is gone.